Adventures in Woodworking: Coffee Table
Mar 28, 2017 | Samantha Dyck, Operations Manager, Hard Hat Hunter

I was excited to be back in Canadore’s woodshop this week to get started my newest project. I left it to a vote, and it was decided that I’d be making this coffee table.

It’s the biggest project of the three; the one I was most anxious to try due to its ‘x’ crosses like those that caused me issues on my gate.
I’m hoping my skill has improved since then, but I guess time will tell!
After hauling in all my materials, my first step was organizing my lumber. My cut list was specific and long. I wanted to make sure that I used the wood to produce the least amount of waste.
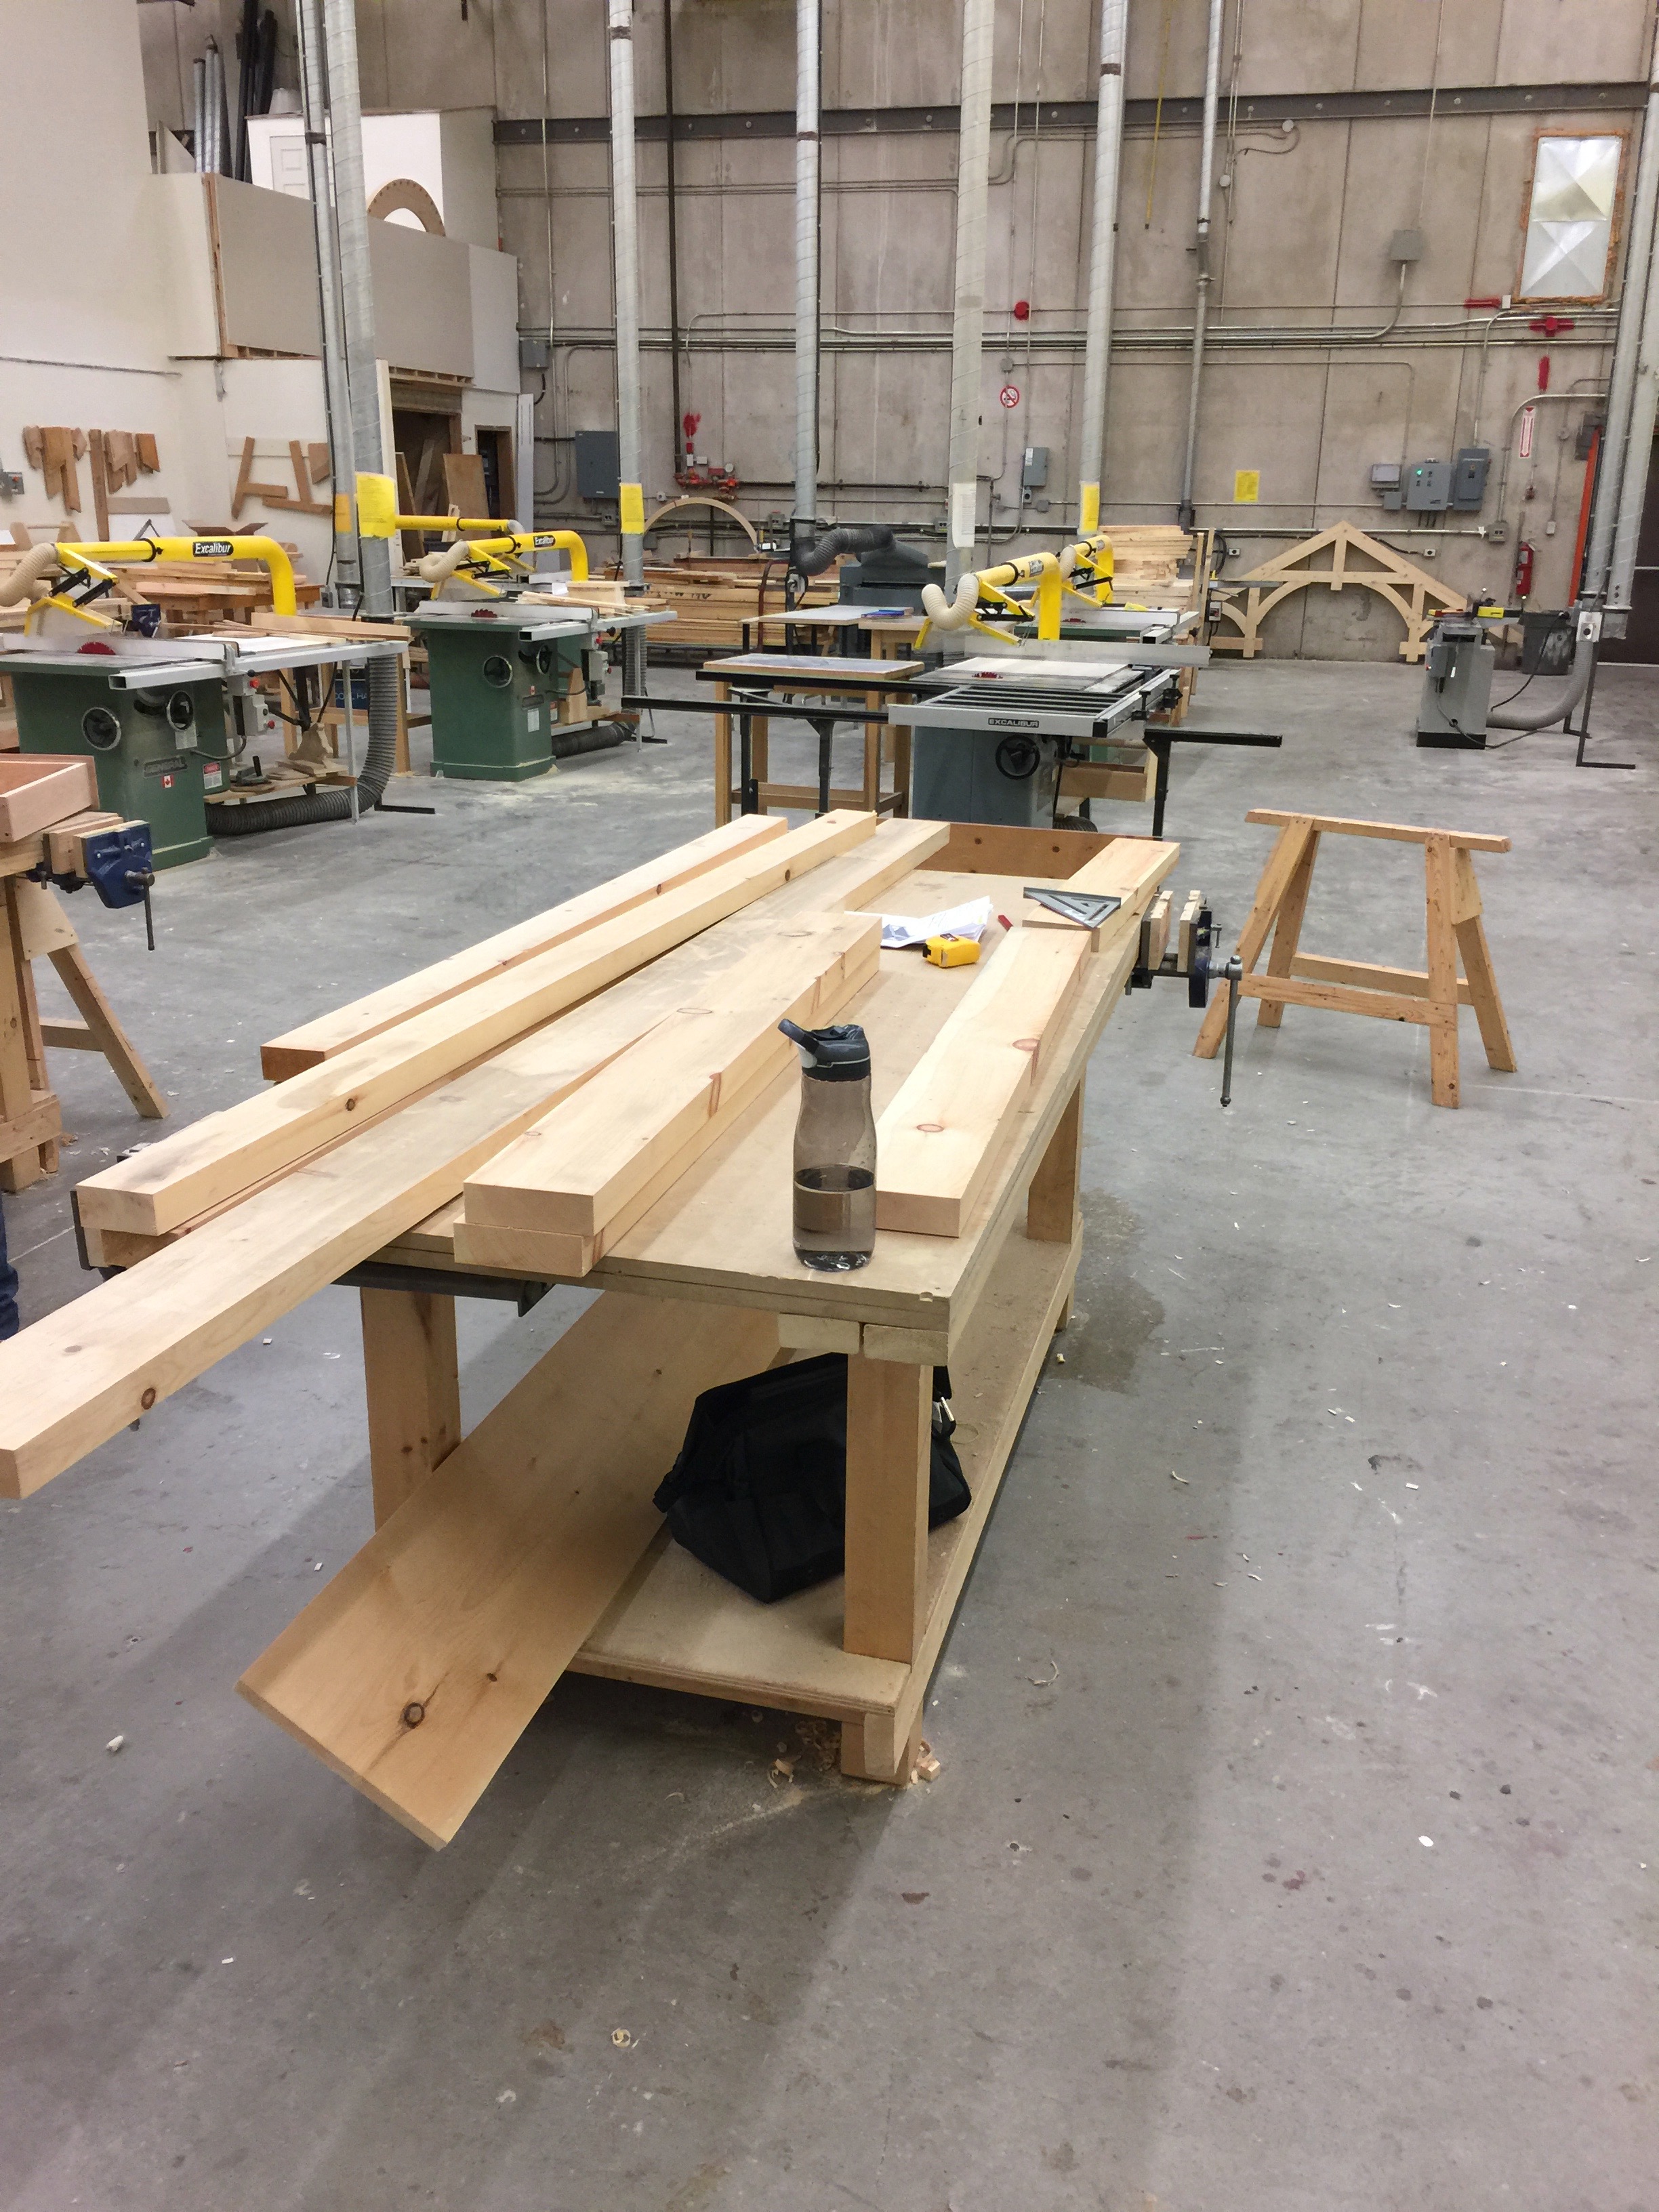
Once I had everything planned, I began cutting to length. Using a chop saw, I cut the following pieces:
- 4 – 2×4 @ 16 ½”
- 4 – 2×4 @ 41”
- 4 – 2×4 @ 22 ½”
- 2 – 1×12 @ 41”
- 2 – 2×2 @ 22 ½”
- 4 – 2×2 @ 11 ¼”
- 5 – 2×6 @ 52”
The Kickback
If you’ve been following along throughout my entire woodworking journey, you’ll note that I hadn’t yet had to opportunity to cut anything thicker than 4”. You’ll also see that, as mentioned in the cut list above, I was required to cut 5 pieces of 2×6 at 52”.
Because the material was too thick, while trying to cut it in one pass, the chop saw kicked back with a boom. It seriously freaked me out.
After discussing it with Adam, I realized my error. I made sure to adjust how I cut the rest of the lumber (in multiple passes, instead of one), and everything went swimmingly.
Pilot Holes
Once all my pieces were cut to length, I had a few pieces that needed to be ripped. With Adam’s help, we quickly did so using the table saw.
Next, the plans called for creating pilot holes to join the legs and top trim together. Using a Kreg Jig, I centered the lumber in the device, and adjusted it to the appropriate angles. I made sure that the face of the lumber was opposite to me (with the ‘less pretty’ side facing me).
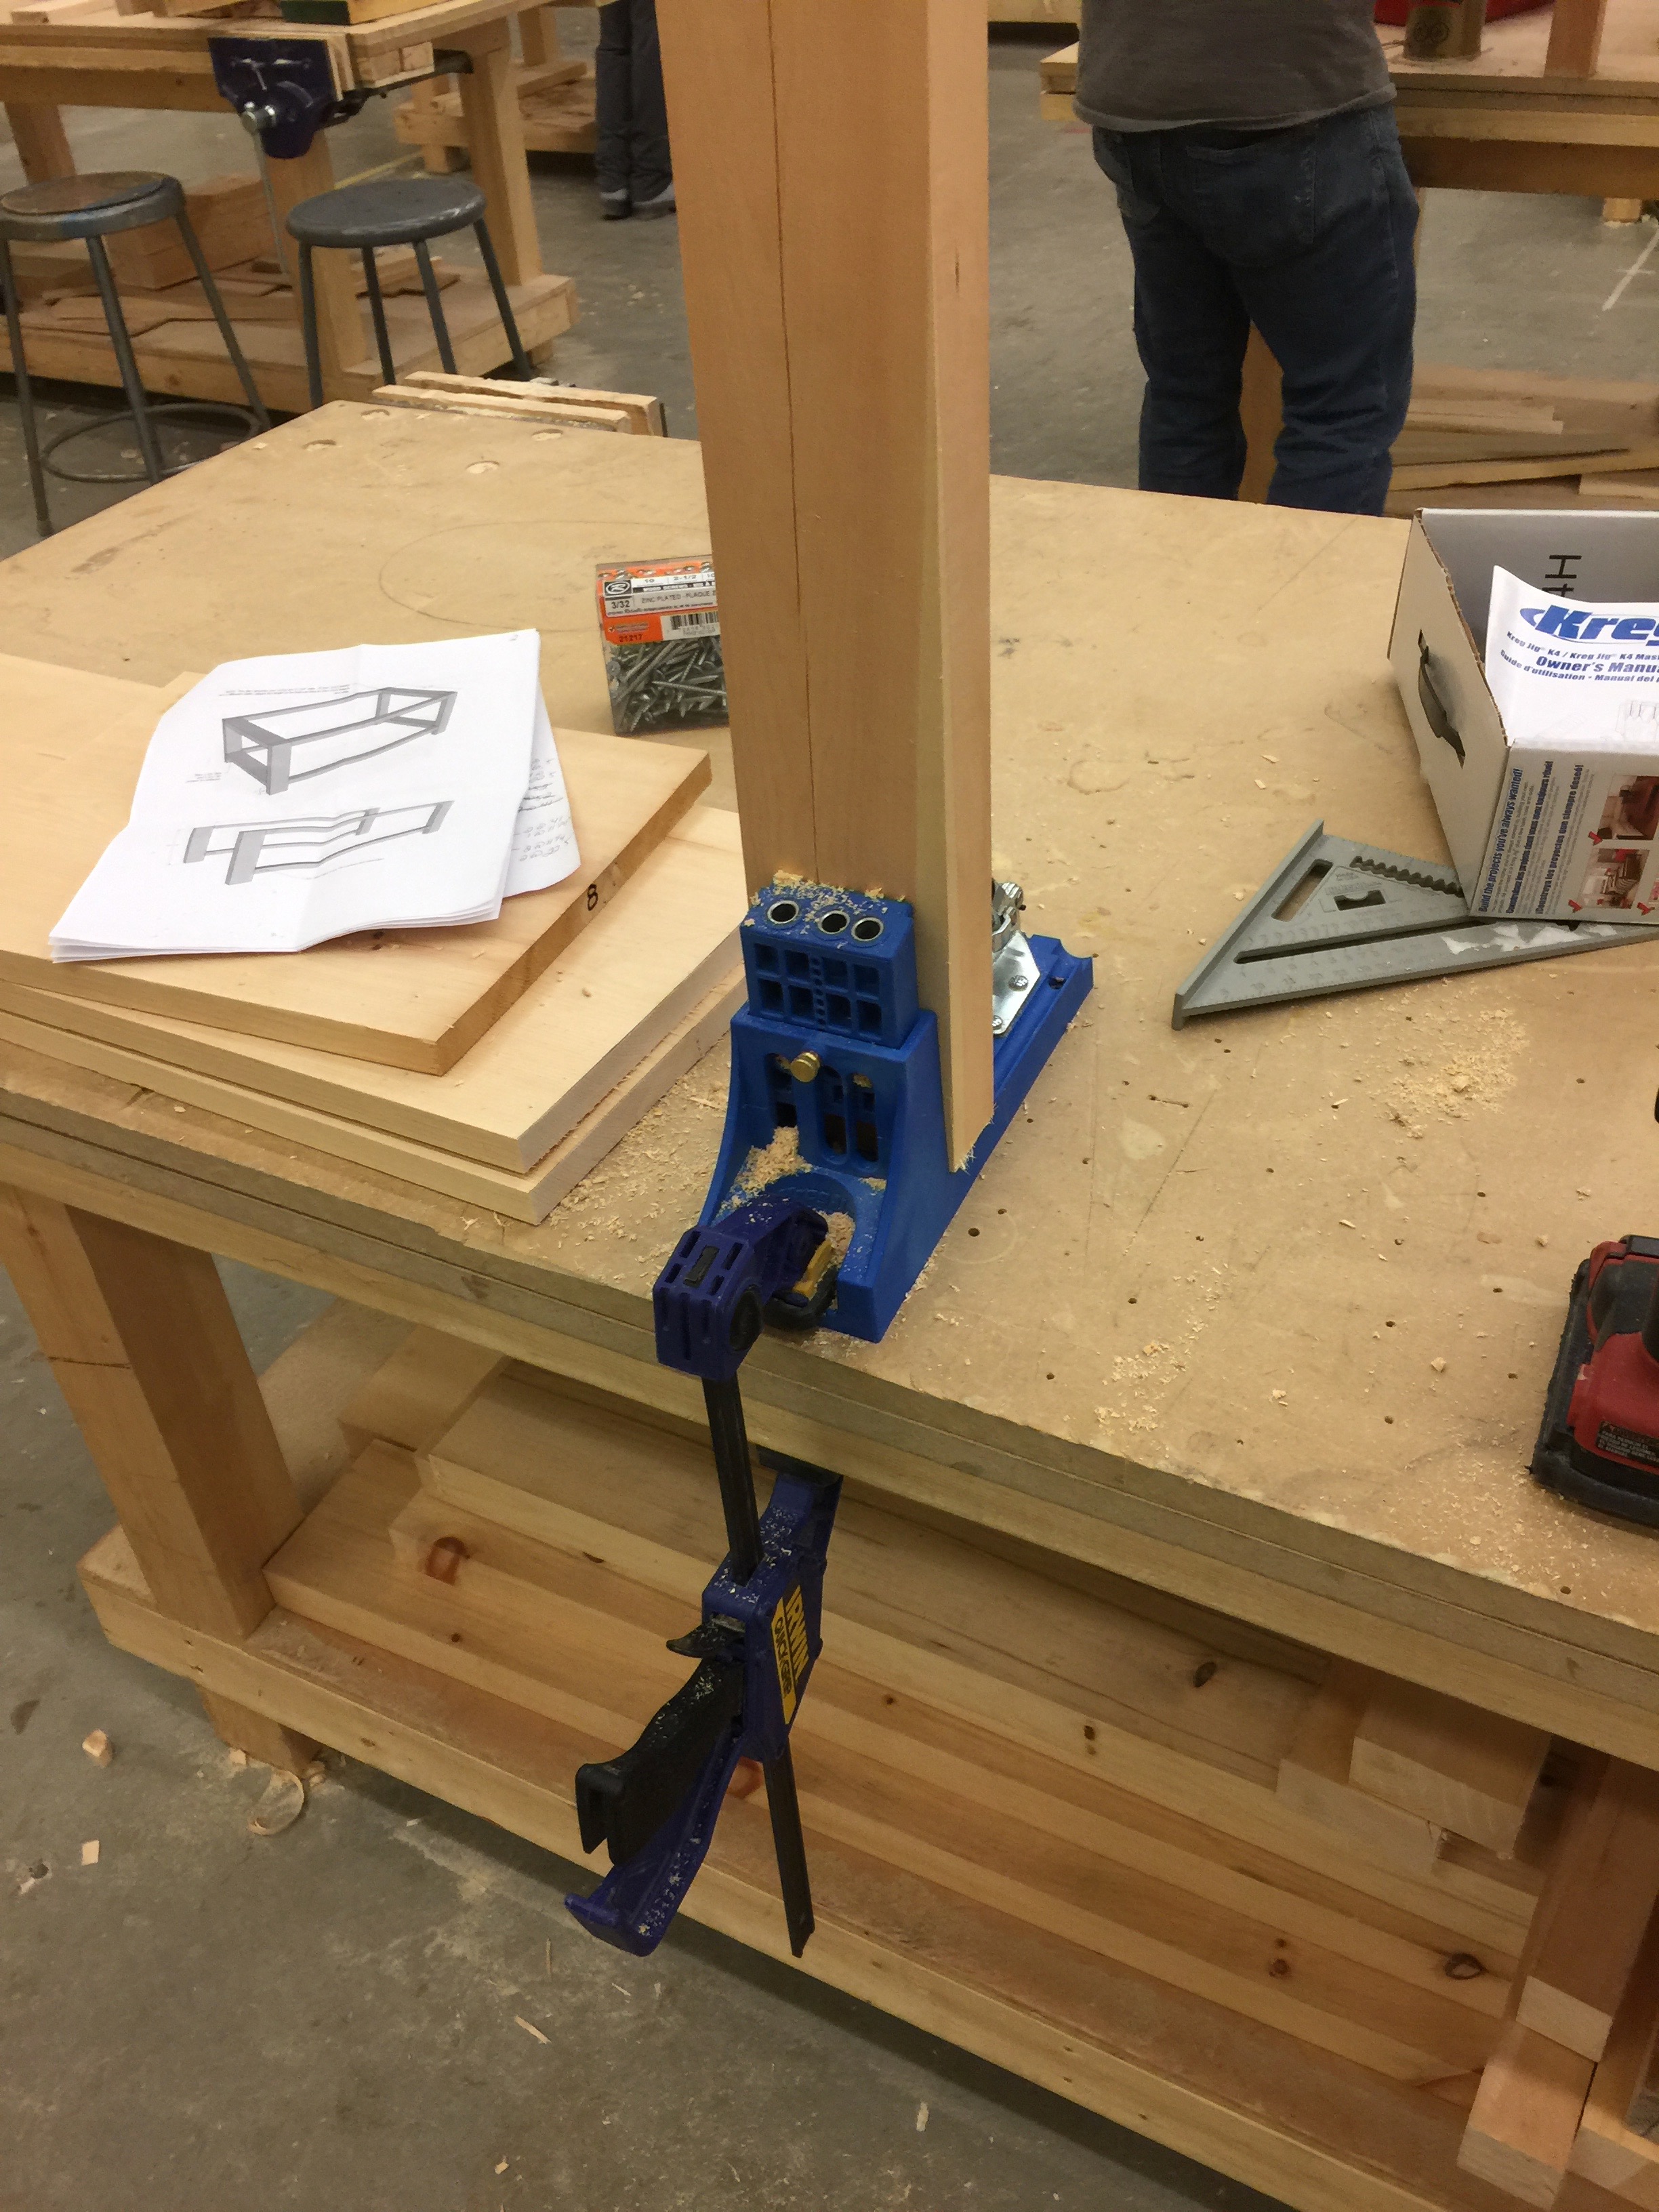
Next, I used a step bit to drill the pilot holes on each side of the pieces. From there, I started attaching the legs to the side and end trim using a drill and 2 ½” wood screws.
Next Week
Next class, I will finish up my leg pieces, and then join it together with the bottom trim. I’m hoping to have enough time to also build my bottom shelf, and then move on to the tricky ‘x’ cross pieces.
I’m pretty pleased with how quickly it’s taking shape. Can’t wait to continue building next week!
Article by: Samantha Dyck, Operations Manager, Hard Hat Hunter
Canadore College announced a partnership with Hard Hat Hunter, a unique social media channel geared towards the trades and construction industries in November 2016.