Adventures in Woodworking Part 5
Mar 28, 2017 | Samantha Dyck, Operations Manager, Hard Hat Hunter
Laminates & Adhesives
Class started off with a quick lesson on how to attach decorative laminate to MDF to make countertops. Adam went through the process, step-by-step, then left us to either try it out or work on our solo projects.
The concept of taking a quick break from my (cursed) gate was appealing.
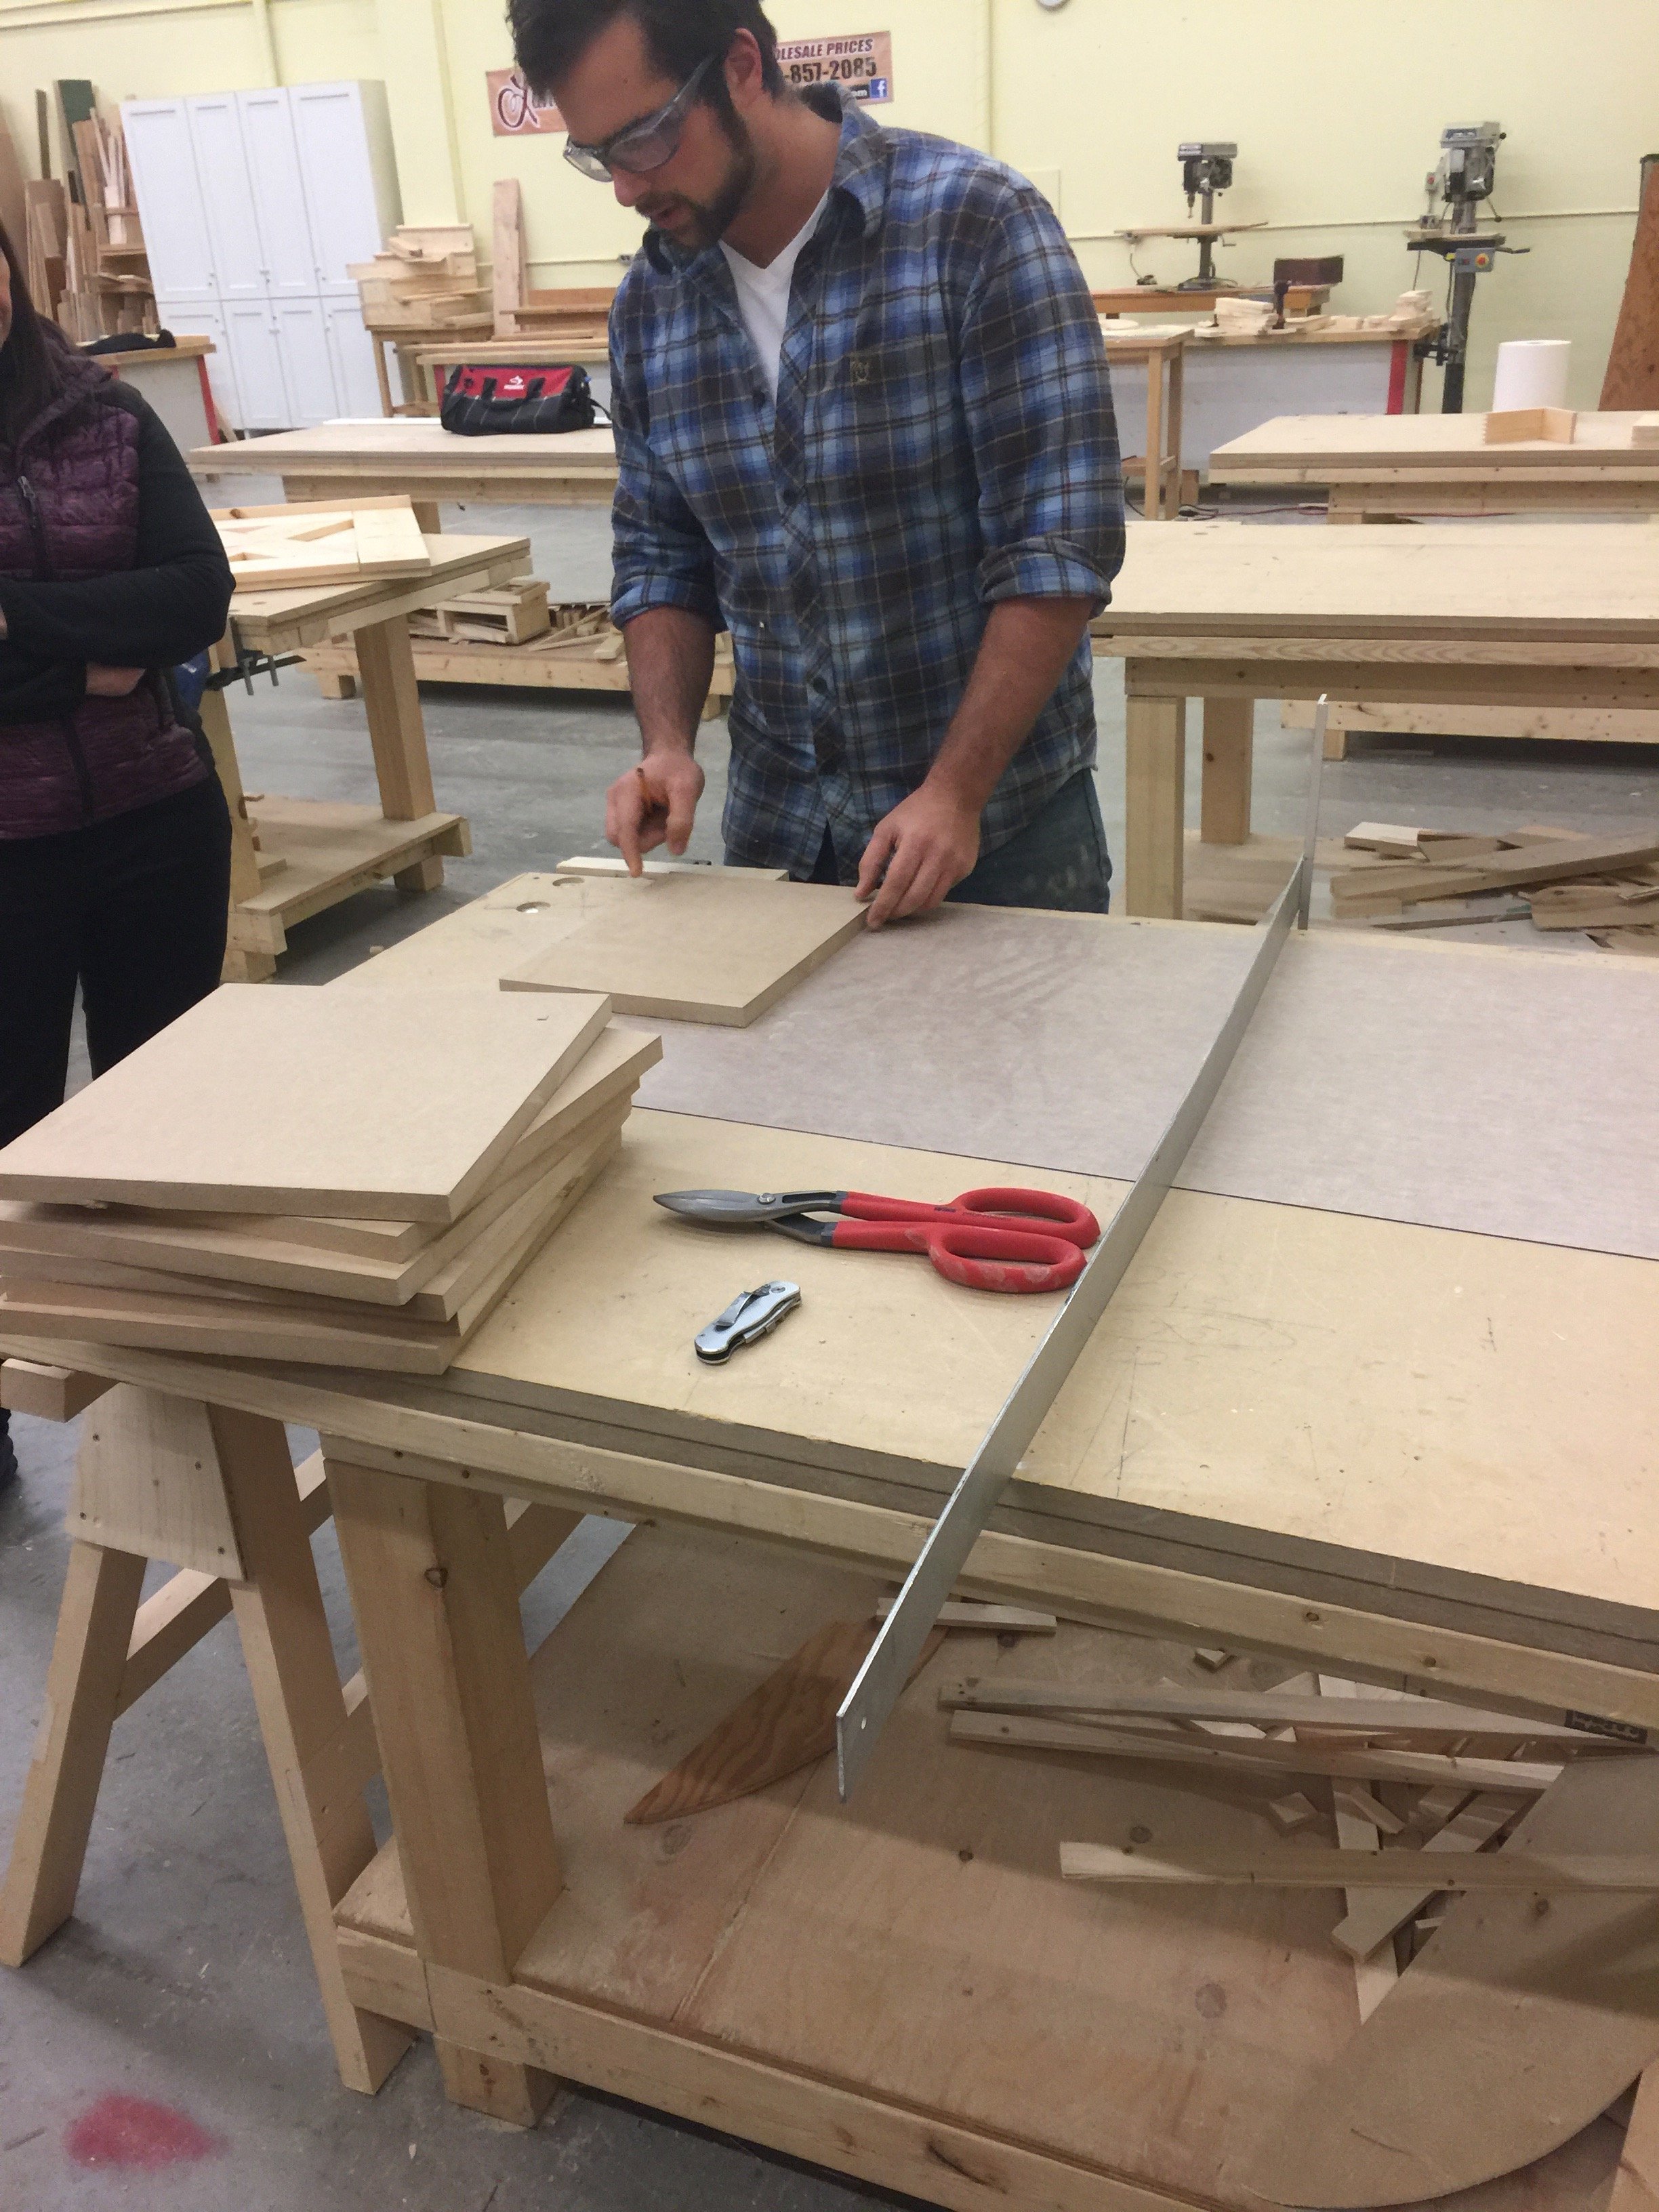
To begin with, we each grabbed a piece of MDF. Next, we needed to cut a piece of laminate, with about a ¼” on each side to give us a bit of a margin for error.
I laid my MDF against the laminate, and using a T square the edges with ¼” to spare on each side. Next, I used a utility knife against the T square to score my edge of laminate. Once I had gone over the line a few times, I snapped the edge.

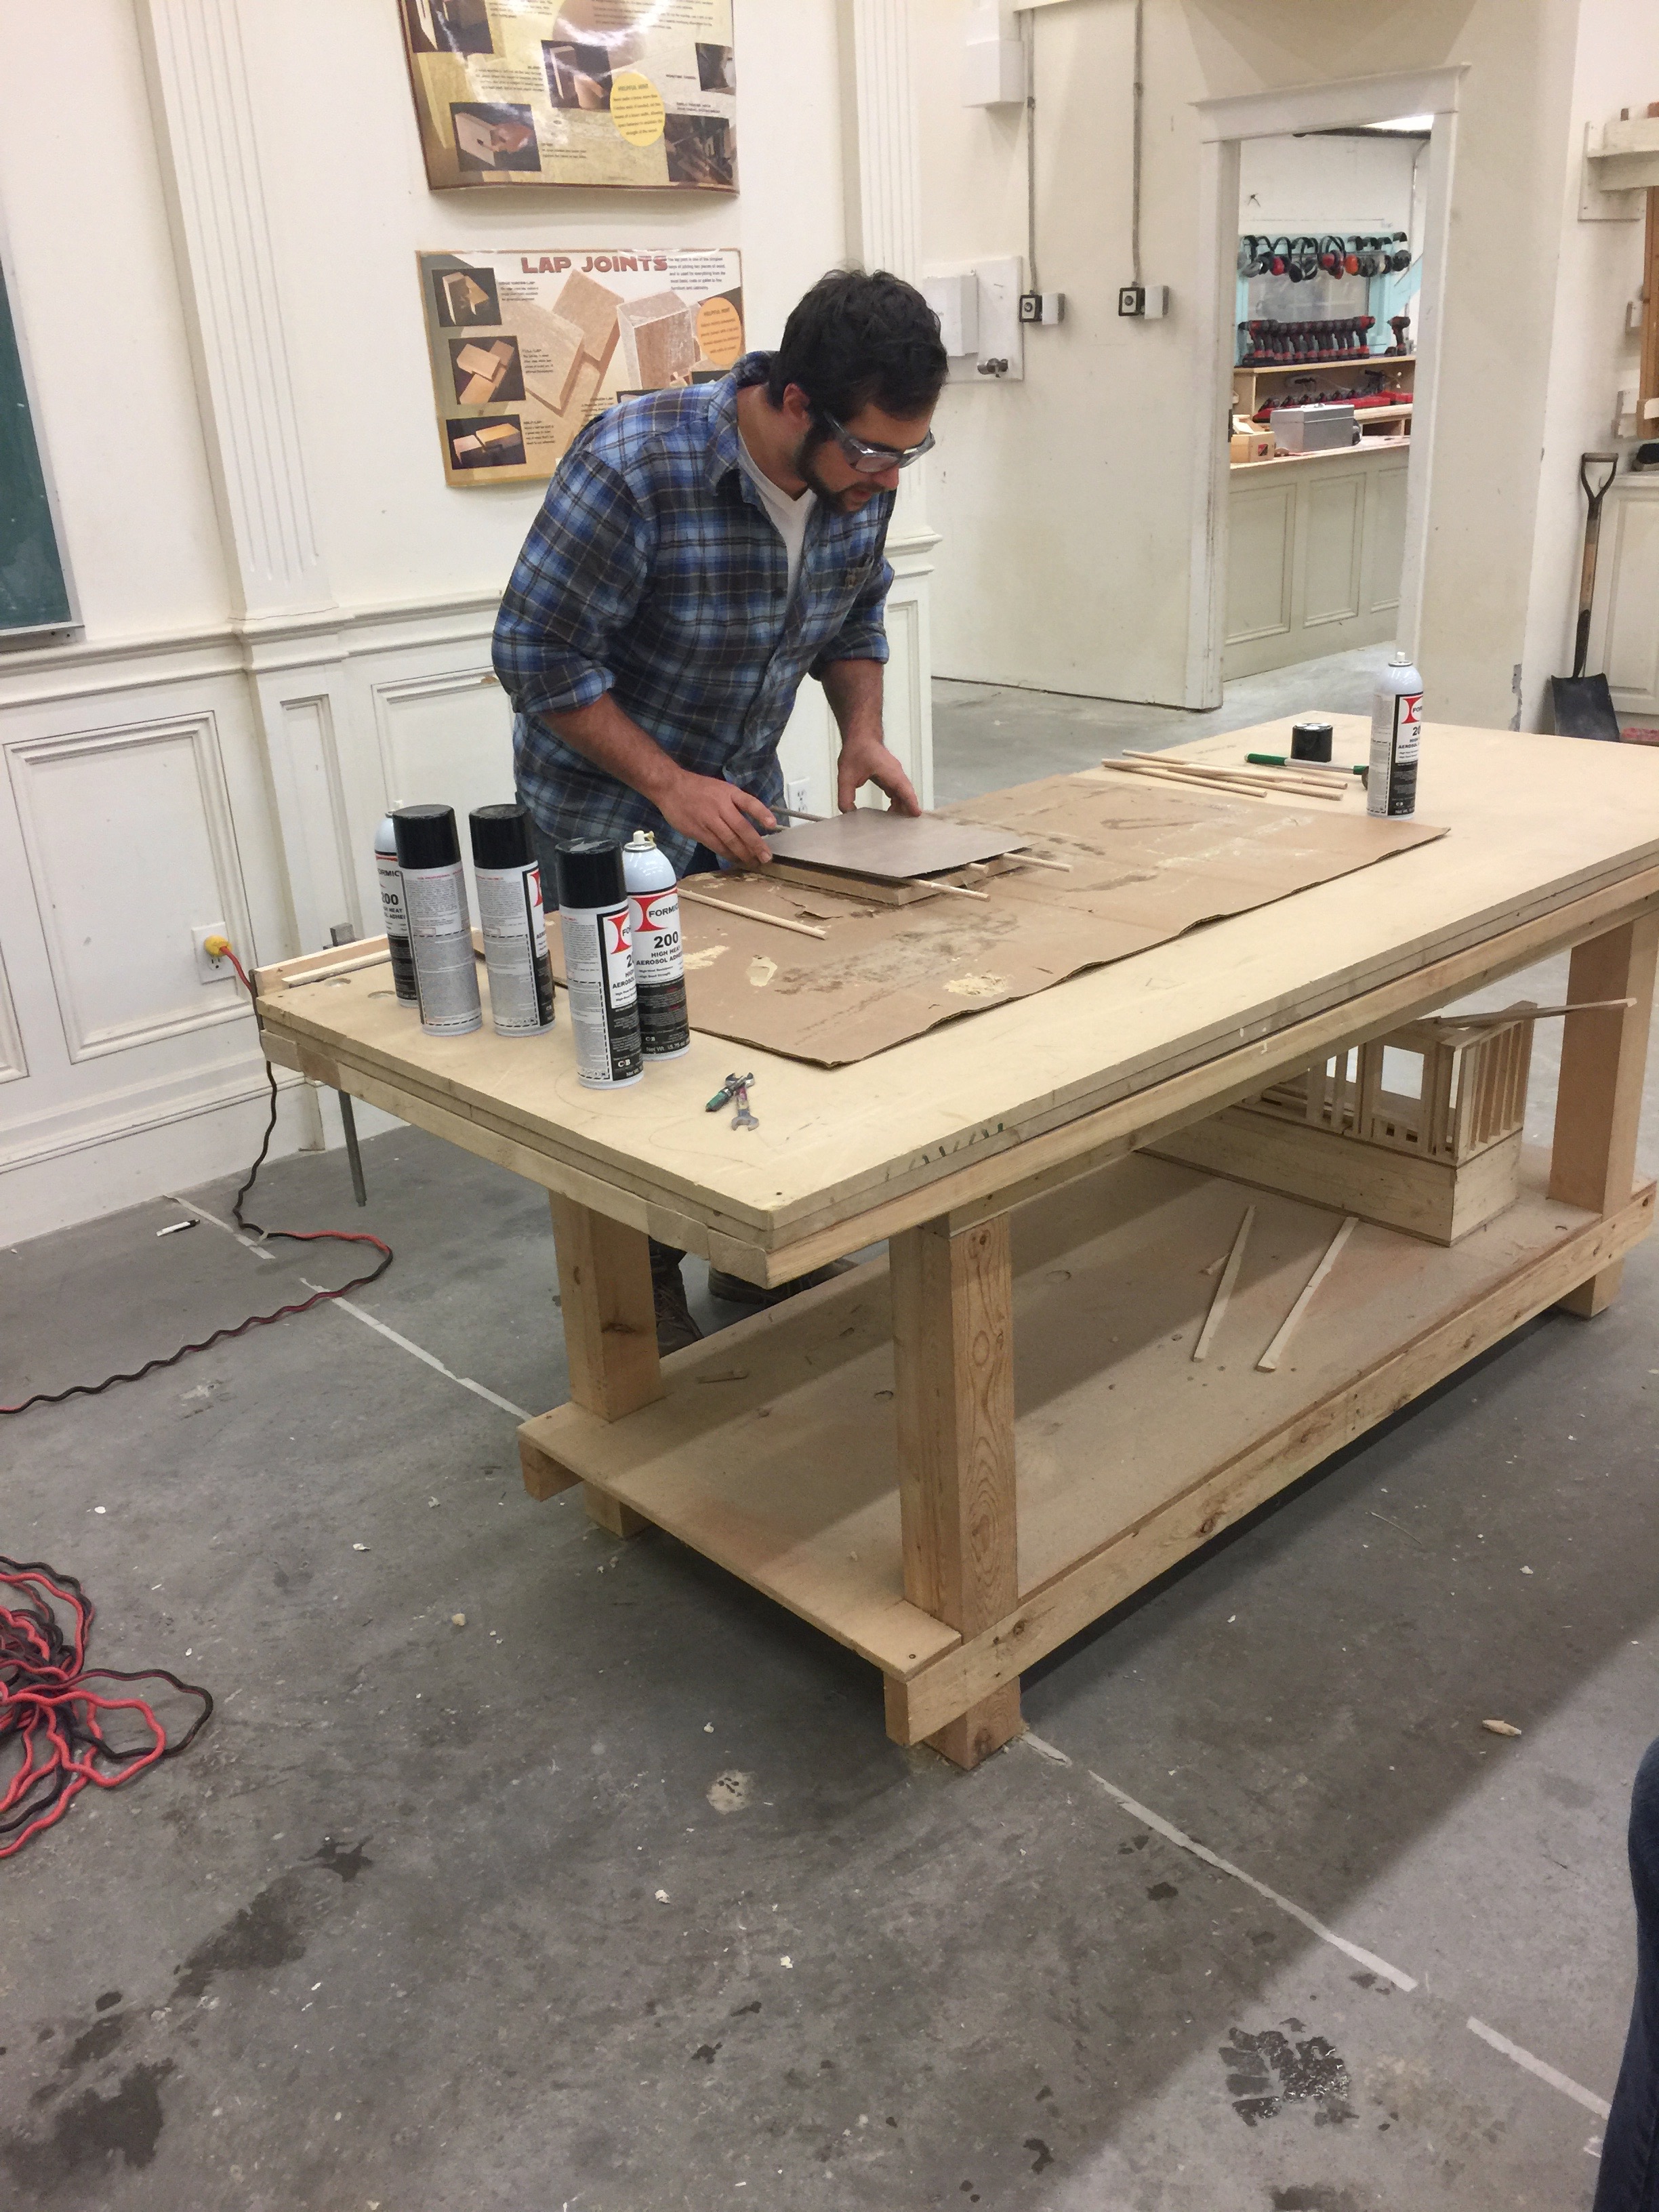
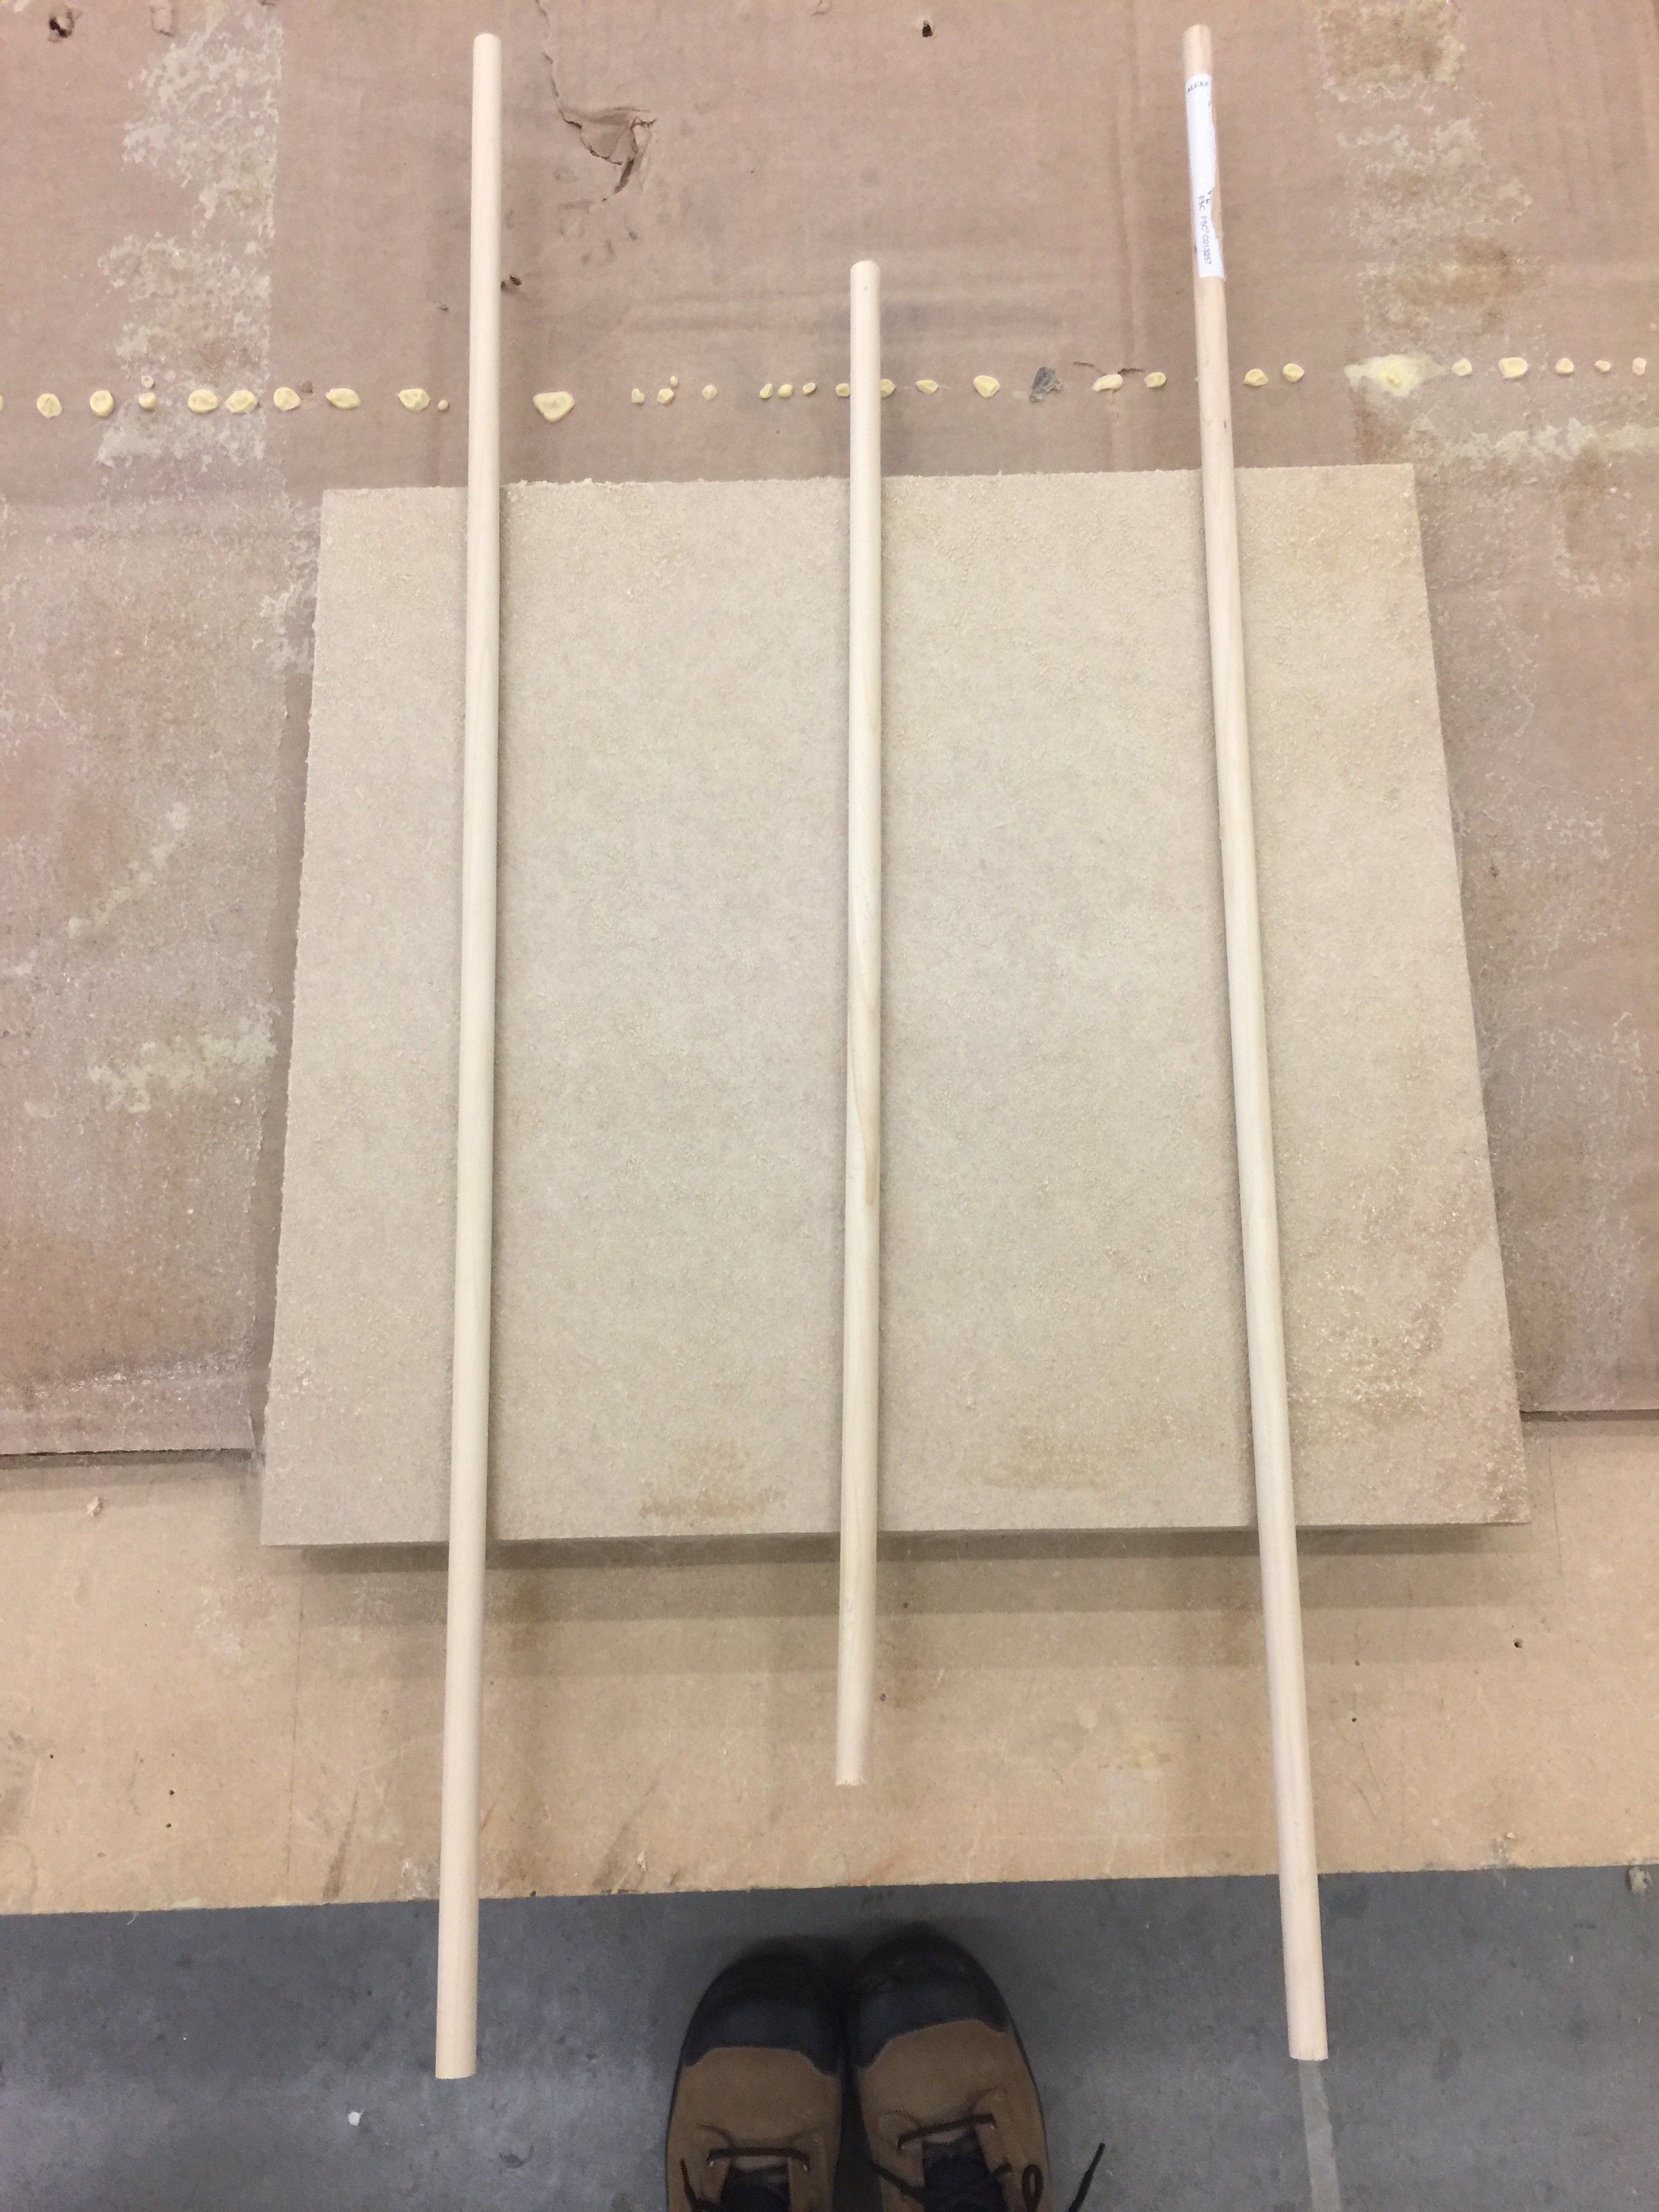
or the next step, I needed to add adhesive to the back of the MDF and laminate. In big sweeping motions, as evenly as possible, I spread aerosol contact cement on the back of both of my pieces. After letting the adhesive sit for a few minutes, I used followed Adam’s tip of using wooden dowels to adjust my piece of laminate against the MDF.
After I had attached the two pieces, I used a roller to secure the piece and get rid of any air bubbles.
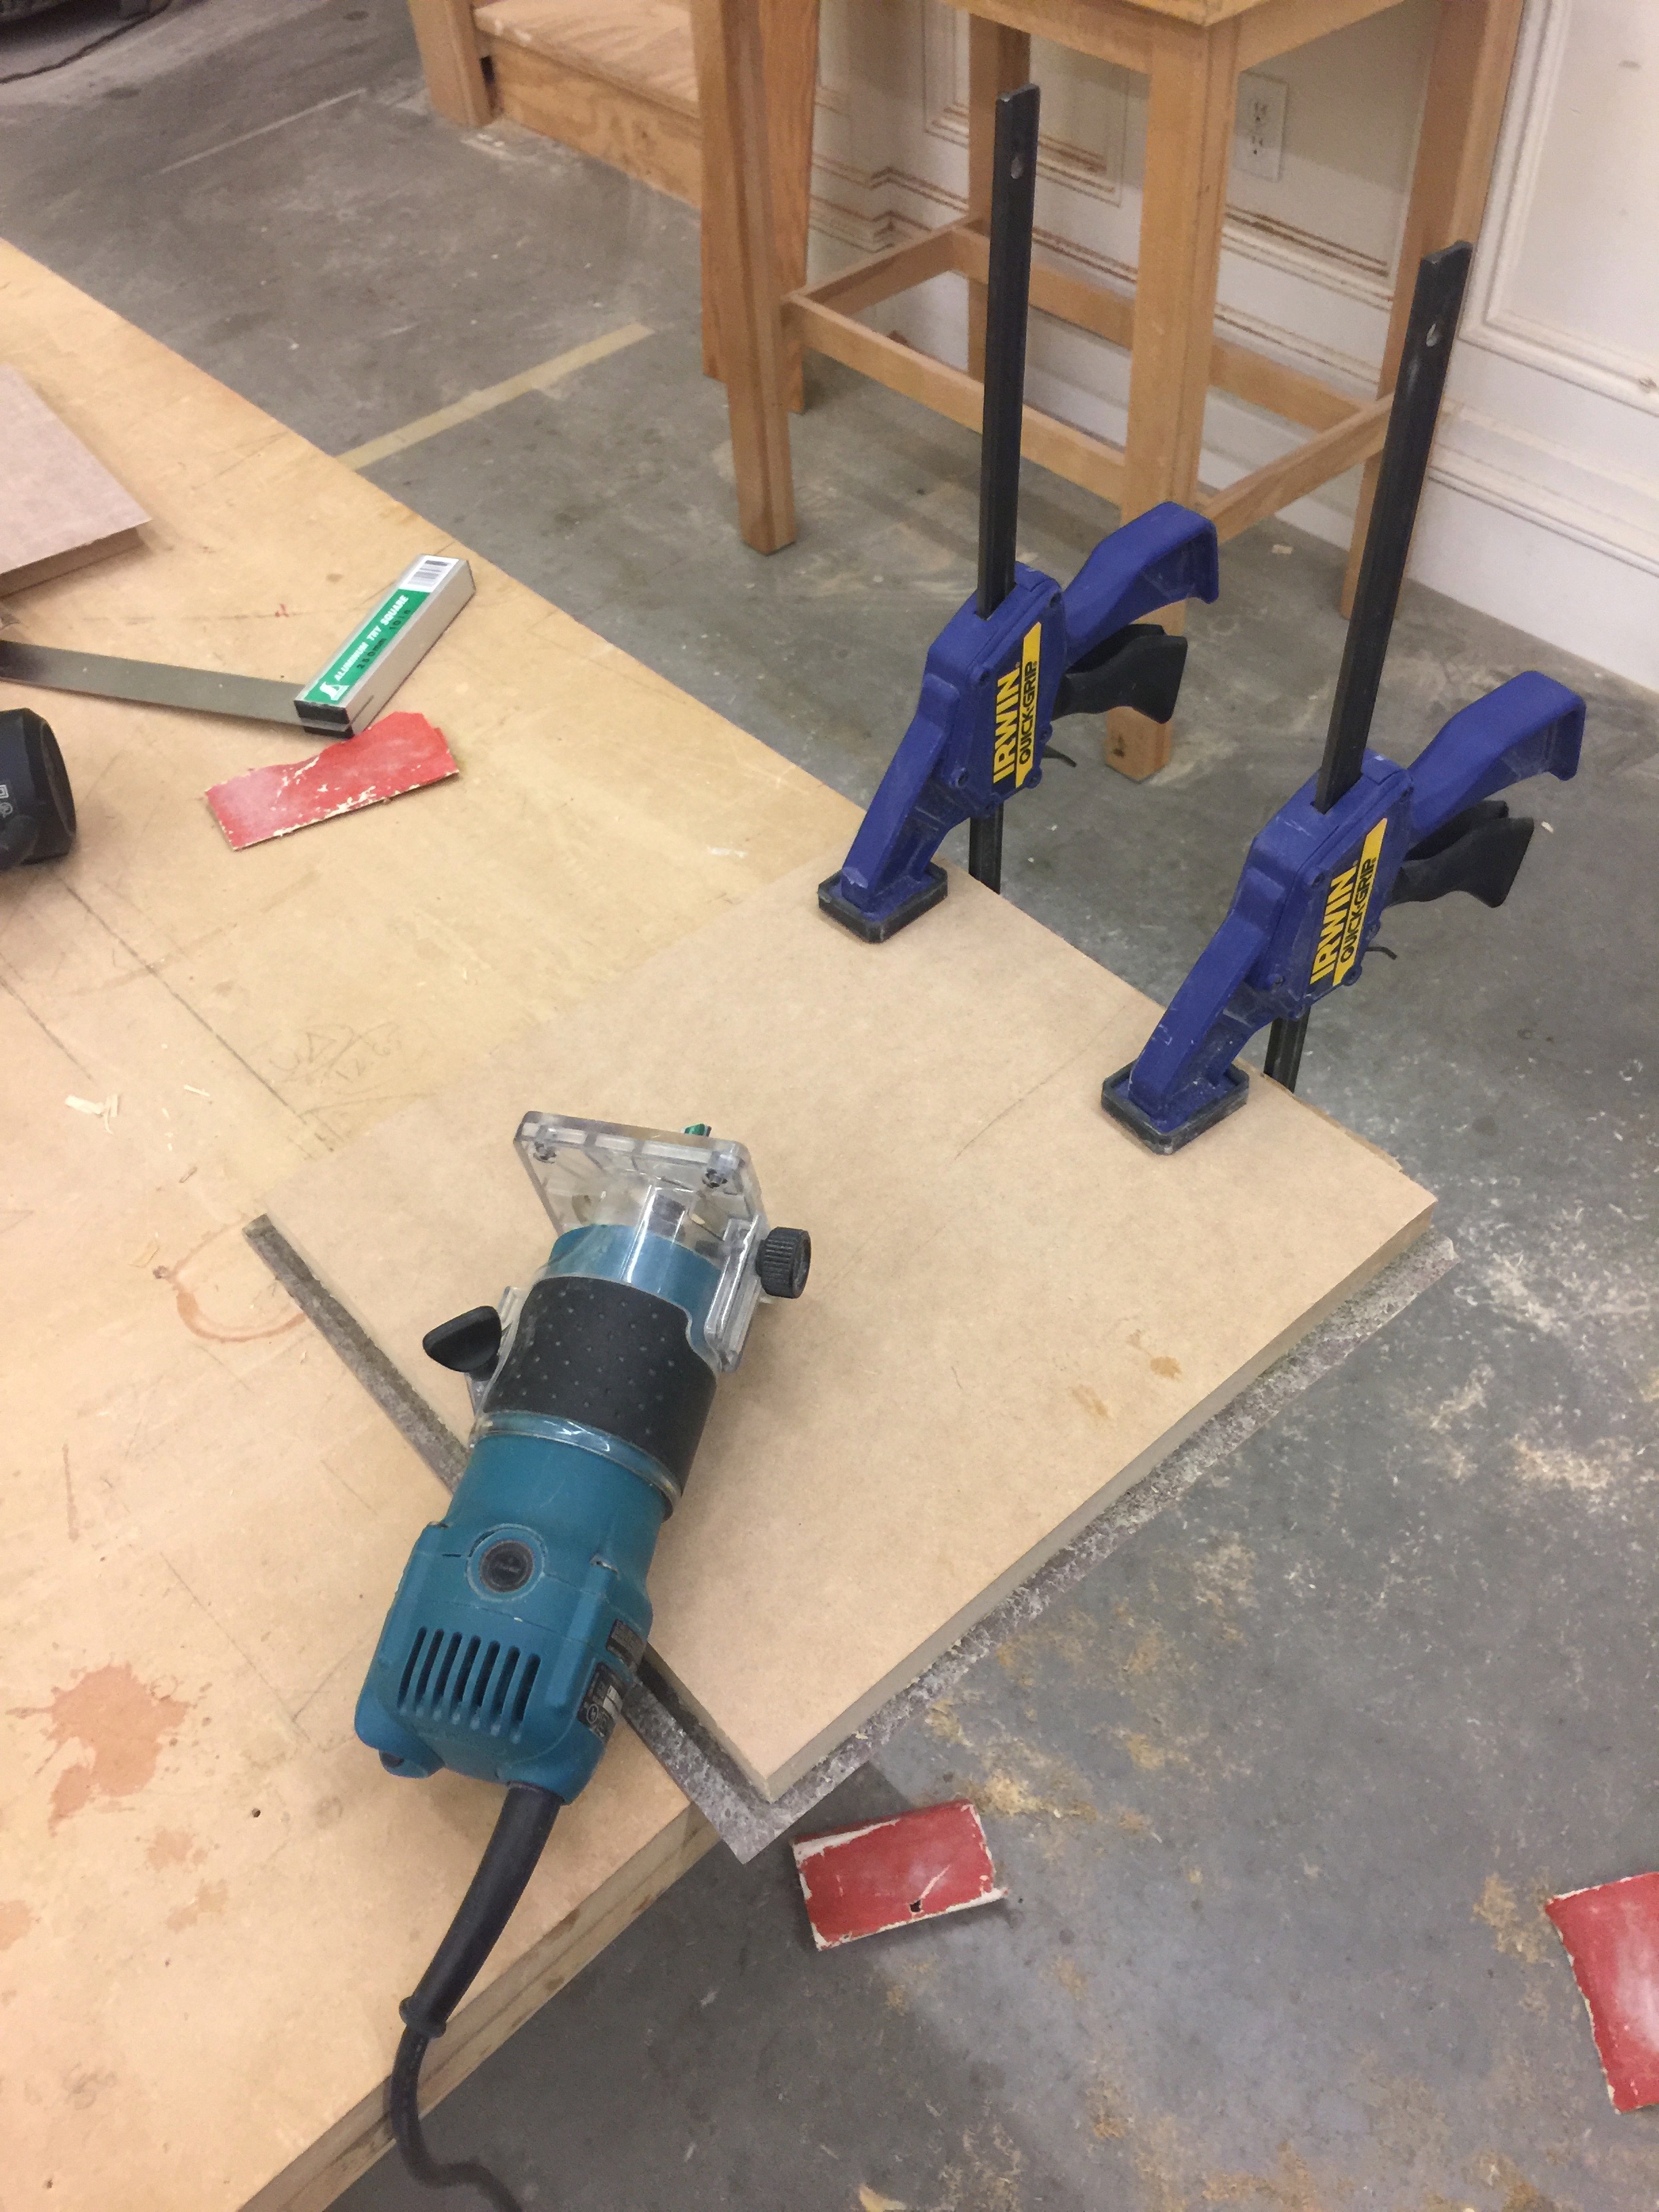
Now that my laminate was attached to the MDF, I needed to get rid of the extra lip of laminate on each of my sides. I used a laminate trimmer with ½” router bit to quickly cut off the edges.
Gates and Hinges
After my success with the laminate, I was excited to get back to my gate and finish it up.

fter having its top rail removed, Adam and I determined that I needed to add a piece to the side on which my hinges could be attached. I grabbed a spare piece of lumber and:
- Used the jointer planer to smooth out the edge
- Used a chop saw to cut it down to the right length (30 ¼”)
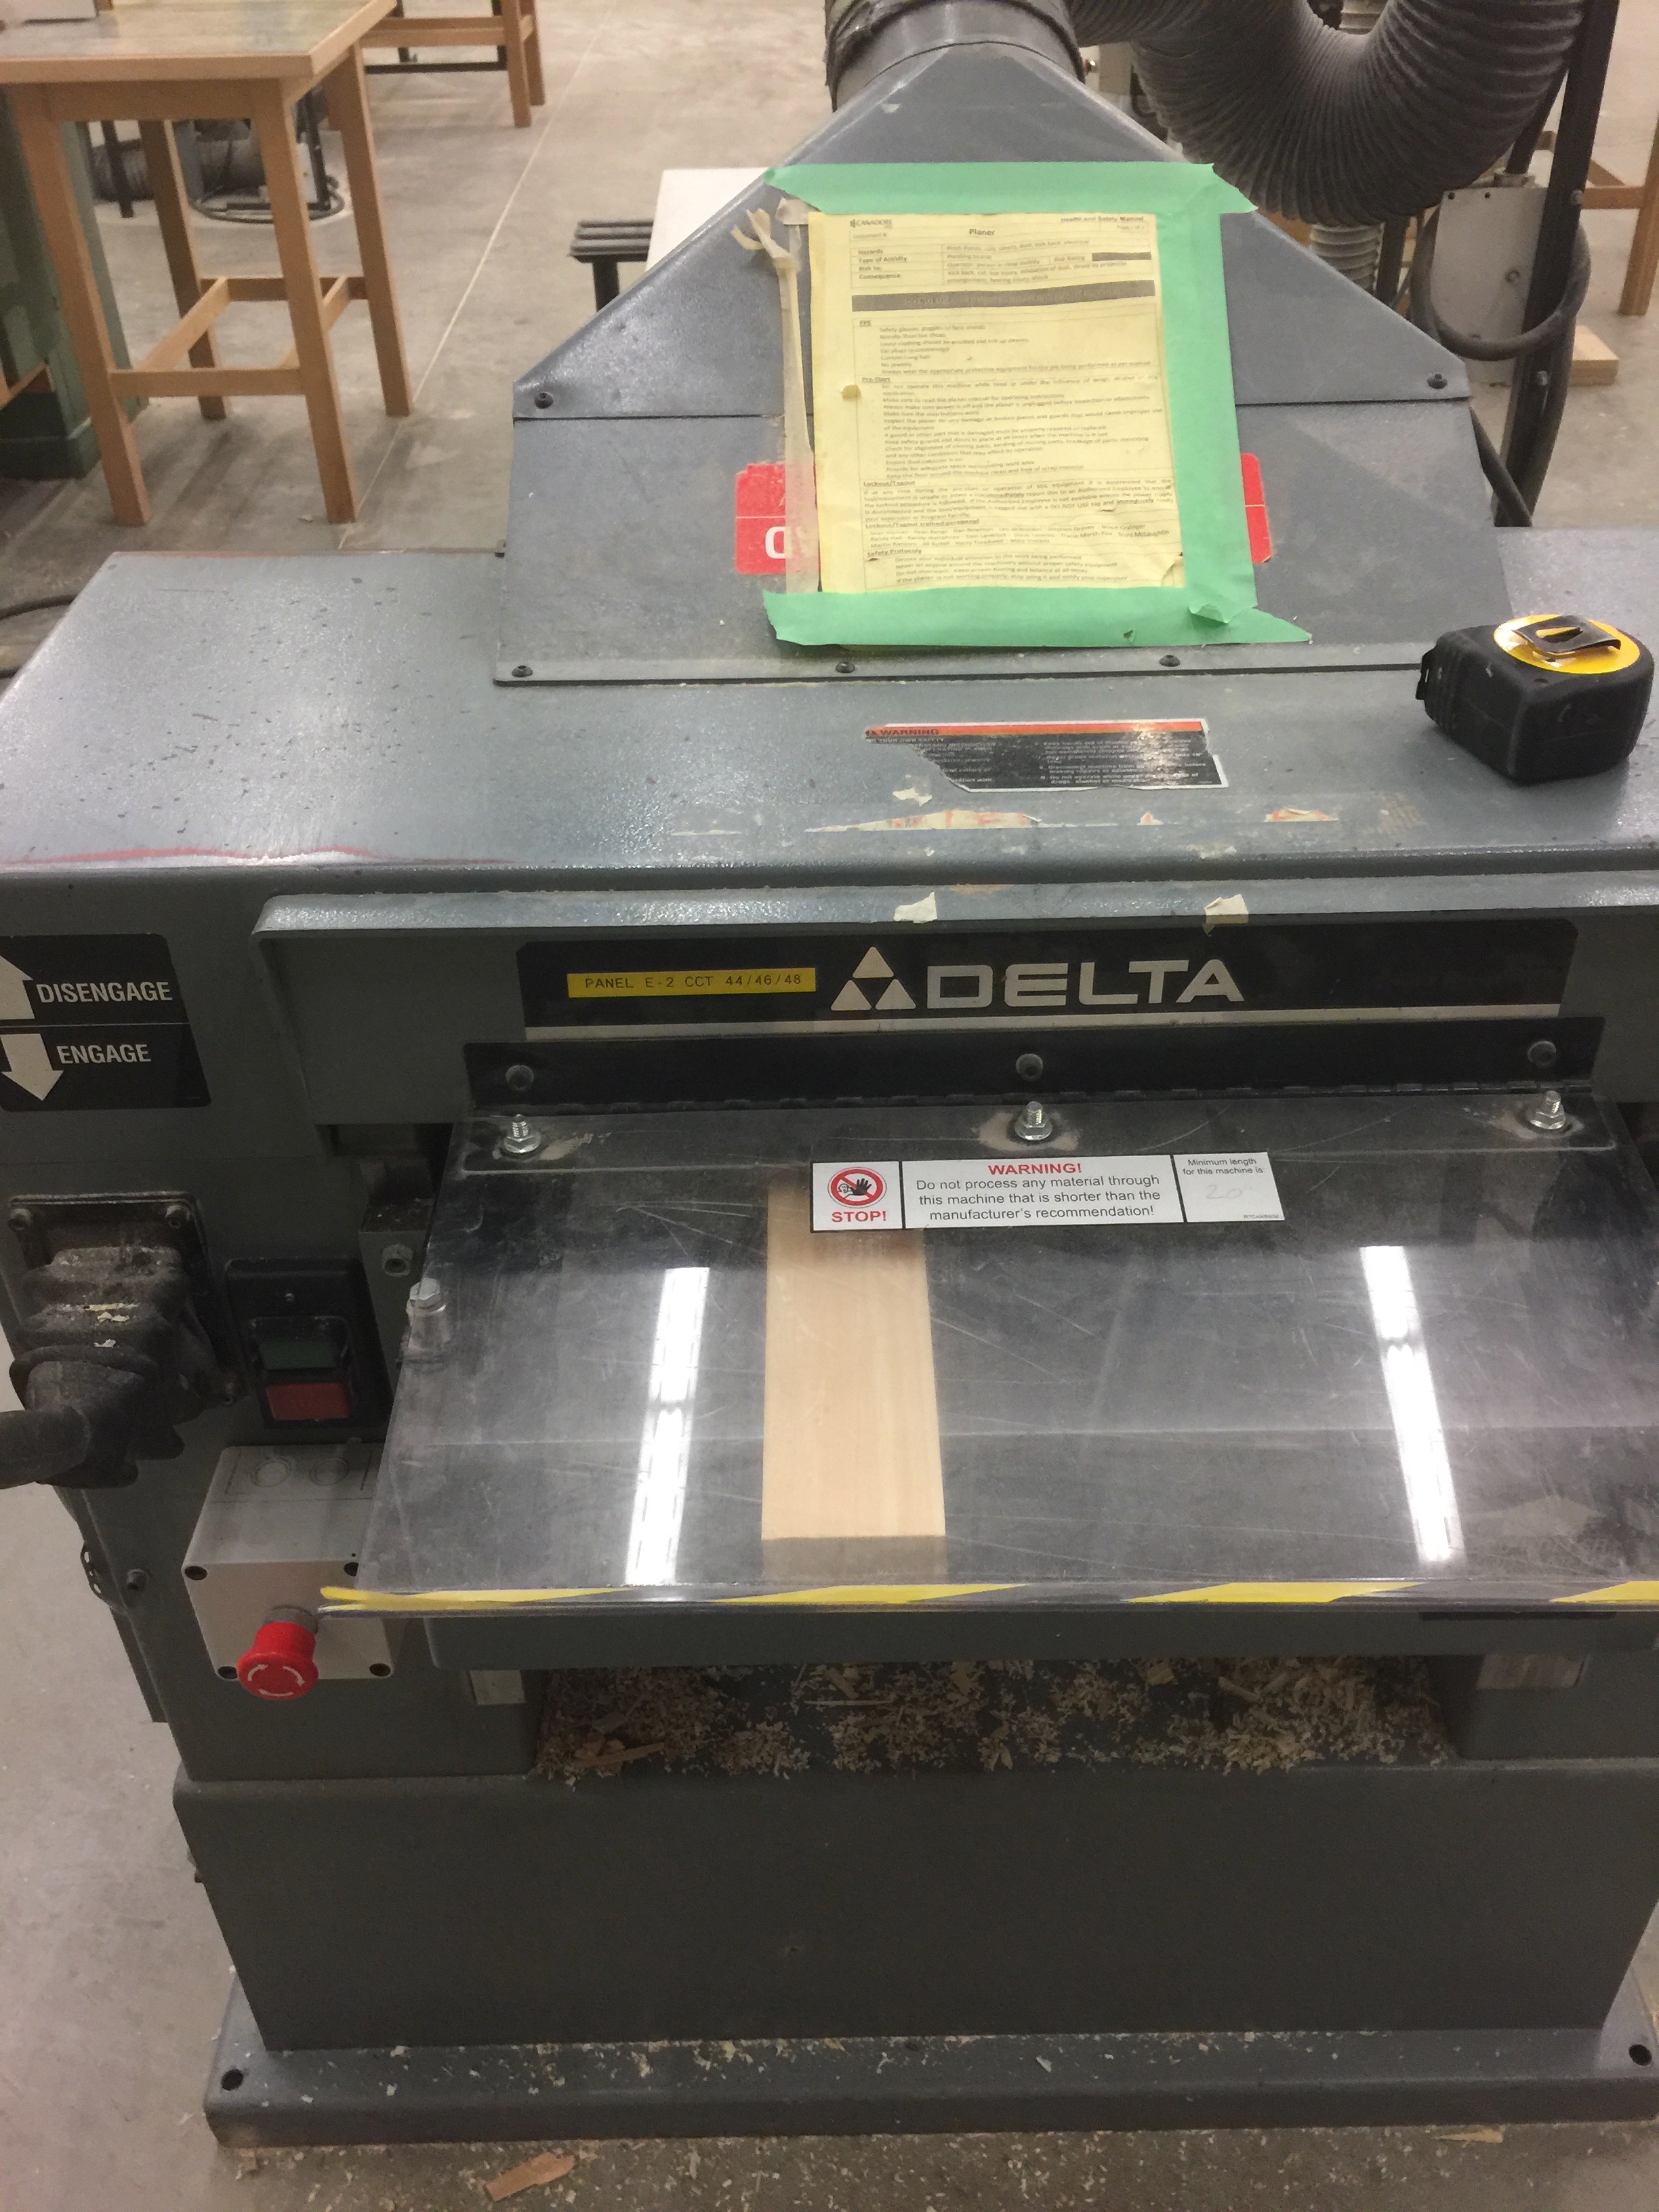
- Used a thickness planer to make the piece 1” in width
Now that I had my piece ready to attach my hinges, Adam helped me mark out where they were going to be installed, as well as their thickness.
I used two quick clamps to attach the piece to my work table, and then got a ¾” chisel and began chipping away room for my first hinge. Trying to keep even pressure, I managed to finish up the first hinge, with it sitting just about flush with my new end piece. Adam came over and gave it a pass. Hooray! One down, one to go…
Looking Forward
I didn’t have enough time to finish my gate (yet again). Here’s what I still have to do:
- Finish chiseling for my second hinge
- Attach two hinges
- Attach new rail piece
- Re-attach top rail
- Install latch
I’m determined that no matter what happens, next week I will finish this gate. Looking forward to finishing up this first project and moving on to the next one.
Article by: Samantha Dyck, Operations Manager, Hard Hat Hunter
Canadore College announced a partnership with Hard Hat Hunter, a unique social media channel geared towards the trades and construction industries in November 2016.